Nitab v4.1.10
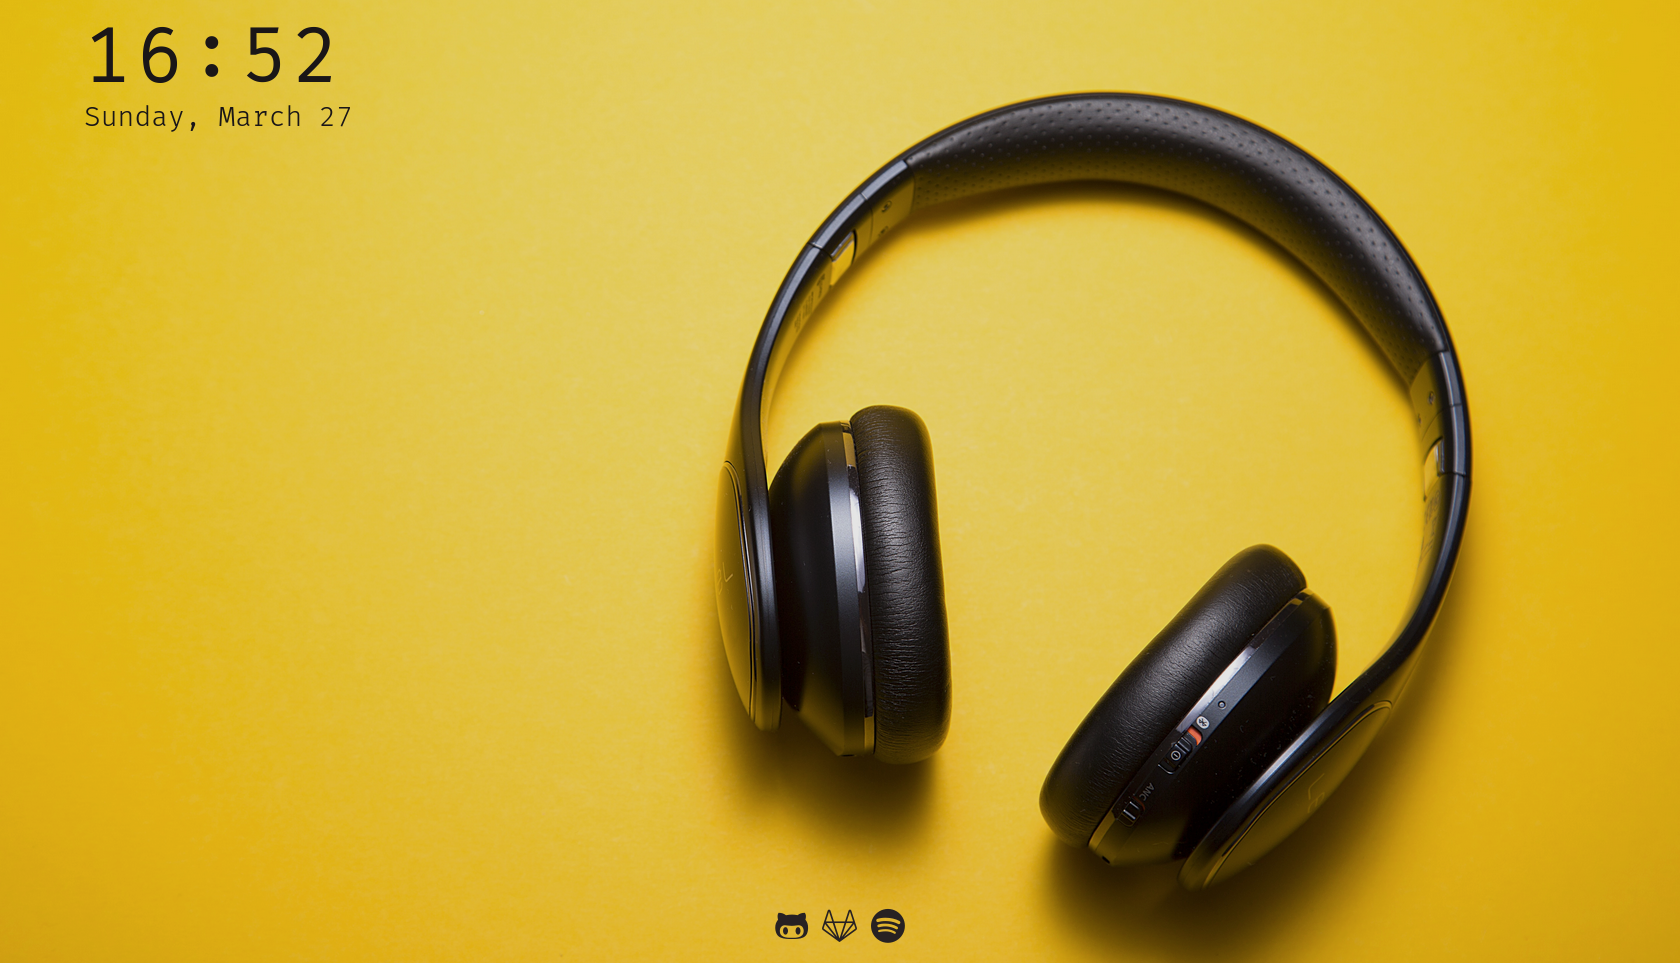
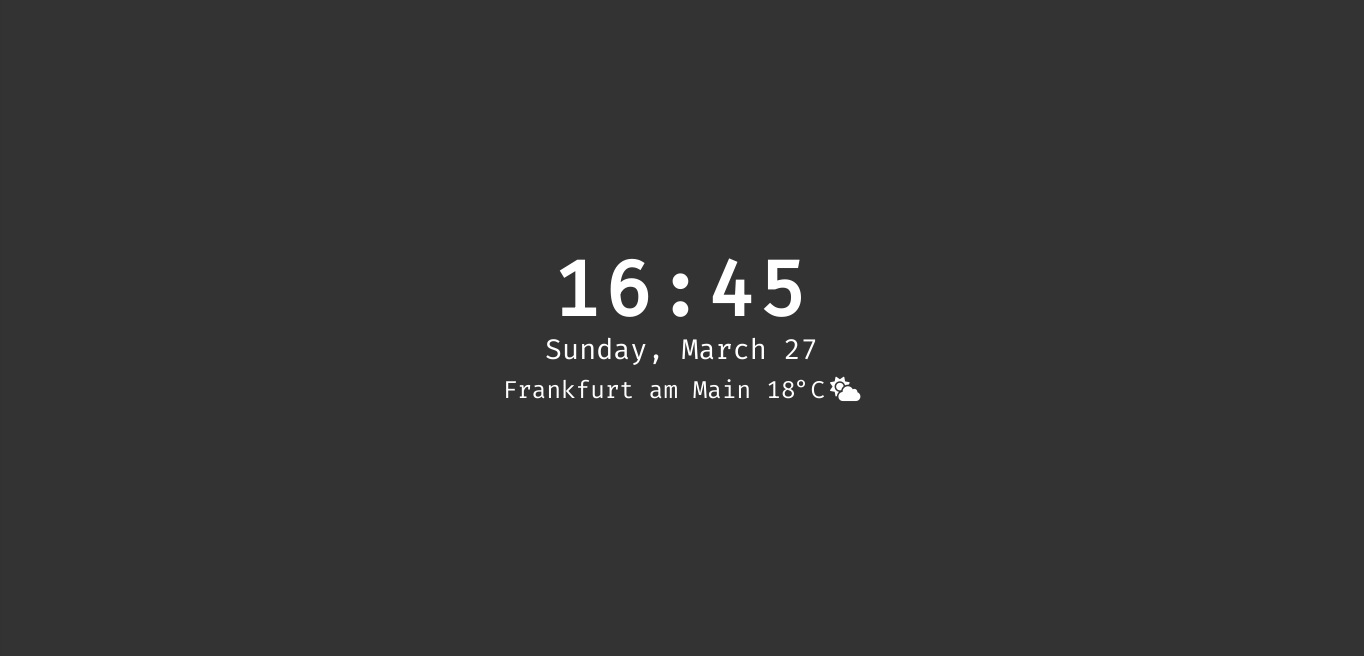
Nitab is an open source, fully customizable and advanced start page and new tab page for your browser. You can add commands (aliases), add a taskbar of links, or have multiple themes and backgrounds.
Checkout Nitab on Github if you have any issues, questions, or you just wanna hangout!
Attention: You'll need to allow for pop-ups for this extension to work.
Basics
- The Terminal
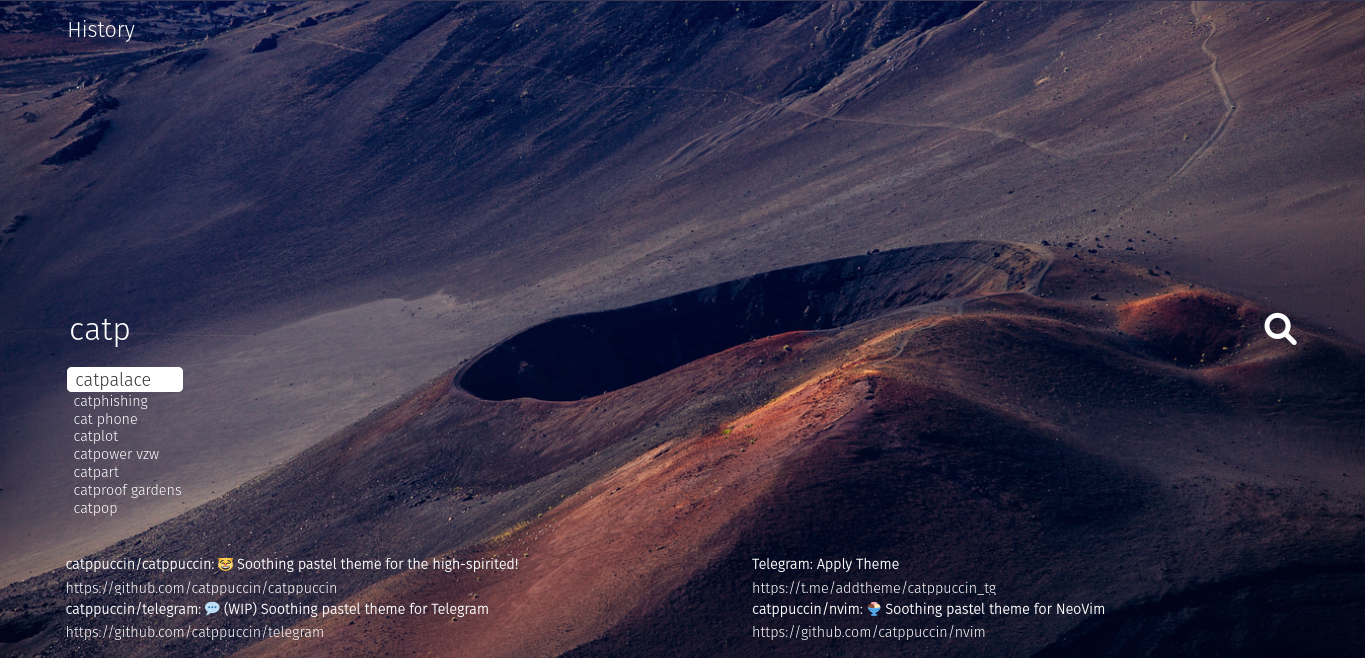
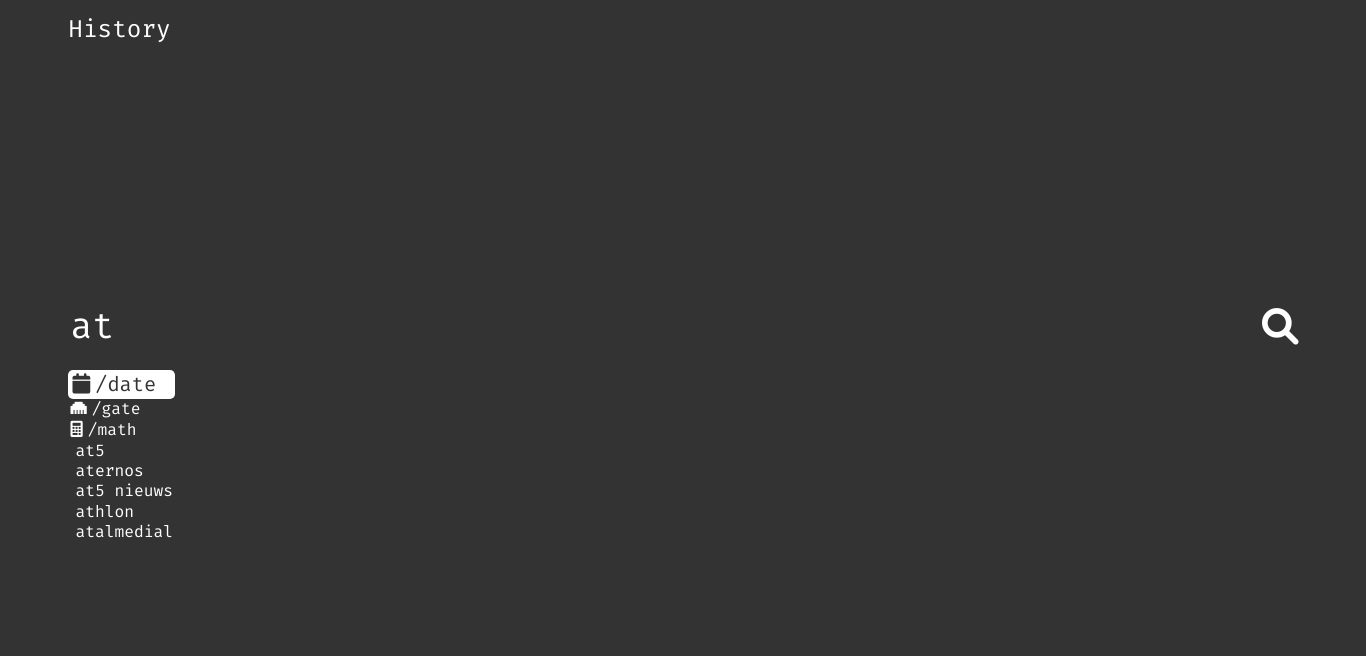
If you type anything on Nitab, It'll open a window with a text input on it. Thats what we call Terminal. You can type and press "Enter key" to search google with anything that you typed.
You can hold while pressing "Enter key" to open the result in a new tab.
You can reverse this functionality by pressing "Ctrl + B" or "Alt + B".
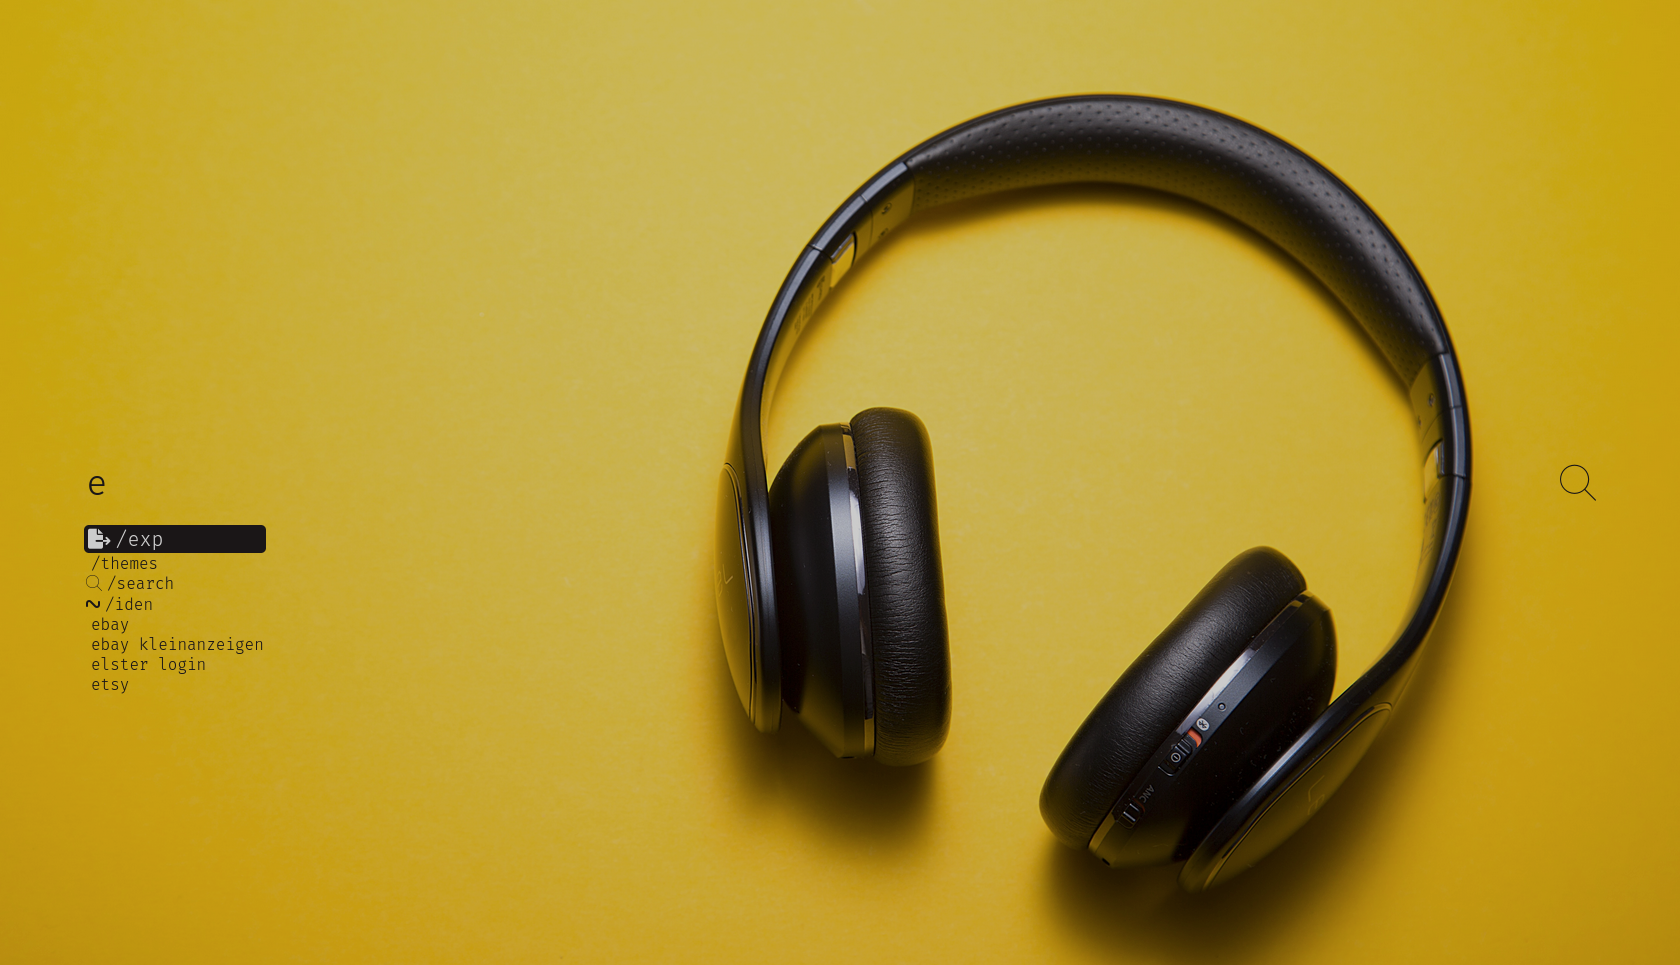
You can also type commands. Nitab will suggest default and your own commands to you based on what you typed.
You can navigate between suggestions using "Arrow keys" or "Mouse" and you can apply its content to your Terminal using "Tab key" or "Mouse Left Click".
Nitab can also suggest based on your Bookmarks, Tabs and History. You can circle between them or turn it off using "Ctrl + Q" or "Alt + Q".
These suggestions can be accessed using "Mouse Left Click" or "Ctrl or Alt + <key of index of item>". For example, If you want to open second item, You can use both "Alt + 2" and "Ctrl + 2". You can use both numpad and num-row keys.
Attention: If I ever mentioned Terminal in the following text, I'm referring to this Terminal. You don't need any external application in order to customize Nitab
- The Main
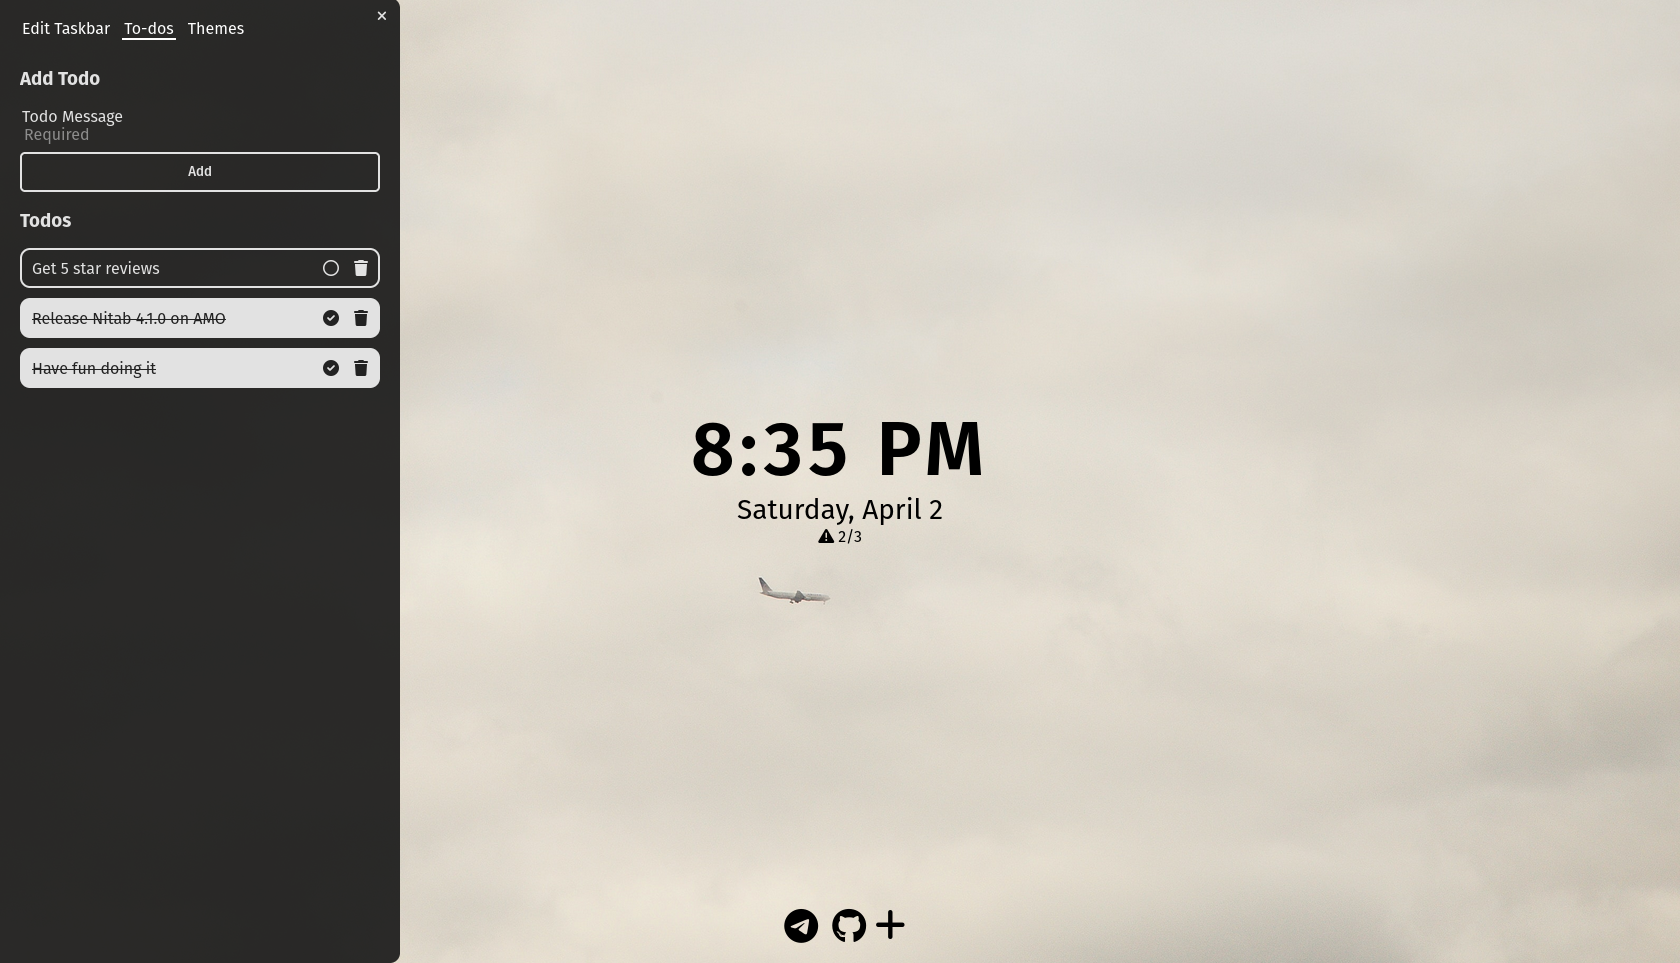
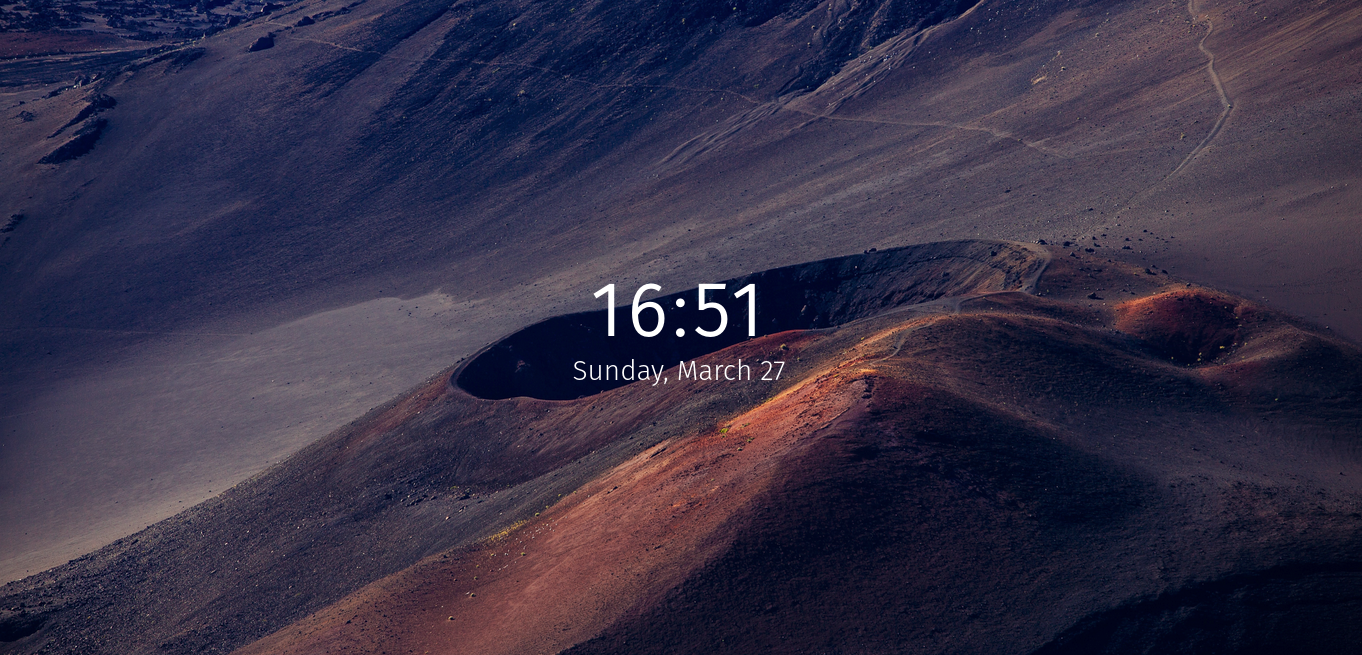
First page you see when you open Nitab. It contains your To-dos, taskbar and clock.
- To-dos
You can temporarily close them using X button, delete them using Trash can button, Or mark it as "finished" using Circle button.
If its finished, You can un-finish it using Circle Check button.
Attention You can't add todos using GUI at the time. It will be an update for this very soon. You can add them using Terminal
- Clock
You can switch between 24h and 12h format by clicking on clock itself.
You can switch to Persian date by clicking on date.
- Weather
You can see detailed weather by clicking on weather icon or the temperature. You also can change weather settings in Side menu by clicking on weather's city name.
You can turn on or off automatic weather using its checkbox in weather settings.
You can search and add cities that are your favorite and then select the city you want.
You also can delete cities that you've added.
Weather data will refresh every 30 minutes.
- Taskbar
You can use taskbar by clicking on each icon, or use "Alt + <taskbar item index>". For example, You want to open second taskbar item using your keyboard. You'll have to press "Alt + 2". both numpad and num-row keys can be used.
- To-dos
Features
- Adding Commands
You can add commands using your Nitab's terminal and the syntax below:
- Simple Commands
/command cmdName cmdUrl
ex: /command ig instagram.com
then if you run: /ig it'll open: instagram.com
- Multiple-url commands
/command cmdName url1 url2 url3 url4 ...
ex: /command ent youtube.com netflix.com store.steampowered.com
then if you run: /ent it'll open: each of those three sites in a new tab
- Commands with inputs
/command cmdName %input%
ex: /command ig instagram.com/%input%
then if you run: /ig slipknot it'll open: instagram.com/slipknot
- Conditional commands
/command cmdName doesntHaveInput%?%hasInput
ex: /command igOrYt instagram.com%?%youtube.com
then if you run: /igOrYt it'll open: instagram.com
and if you run: /igOrYt anything it'll open: youtube.com
- Commands customization
- Icon:
/command cmdName icon:"font awesome class name"
ex: /command ig icon:"fab fa-instagram"
- Color:
/command cmdName color:"css color value"
ex: /command ig color:"pink"
ex: /command ig color:"#dd2a7b"
ex: /command ig color:"rgba(221,42,123,0.5)"
- Icon:
You may combine any of patterns above into one command. You can also customize all system default commands with your icon and color of choice.
- Simple Commands
- Visual Customizations
You can somewhat fully customize your Nitab! you can change almost everything so it fits your taste!
- Clock Configuration
You can set Nitab's clock align and position using /clock position align
"position" Can be any of these values: center, right, left
"align" Can be any of these values: center, end, start
ex: /clock center end
ex: /clock right start
- Foreground Color
Color of clock, terminal, autocomplete, and other GUI elements except for taskbar.
You can either use /fg color or /fg ovr color
The "ovr" will override your commands color and set your Terminal to a constant color.
"color" is as css's color property. You can put color names, rgb, hex, rgba, hsl, hsla and etc.
ex:
- /fg ovr black
- /fg rgba(130,20,80)
- /fg ovr #cdfa5b
- Backgrounds
You can add multiple backgrounds to your Nitab.
Nitab's background can be set to a gradient, a solid color or an image or an images url.
If you want to go with image, You can either drag and drop the images from your local system to nitab or you can set a random image from your Unsplash collections using /bg un
If you want to go with anything other than image, you should use a css value. it can be a gradient, a solid color or url.
heres how its done:- /bg black
- /bg linear-gradient(45deg, rgba(81,96,117,1) 0%, rgba(159,184,232,1) 100%)
- /bg url("https://urlYouWant/path/to/wallpaper.jpg")
/bg index
- ex: if you run /bg 0 it'll set your background to your first background
- ex: if you run /bg 1 it'll set your background to your second background
- ex: if you run /bg 5 it'll set your background to your 6th background
You can customize each background with its own brightness, blur and parallax.
- Brightness
You can set your current background brightness using syntax below:
/br main terminal editingTaskbar
These values can be a number. You probably want to go with something between 0 and 1. 0 means complete darkness, and 1 means normal. Anything above 1 is considered brighter than normal and may reduce picture quality if set to higher number.
ex: If you run /br 1 0.8 0.6 it will set your brightness to normal when you are in main. 0.8 (20% darker) when you are in Terminal, and 0.6 (40% darker) when you are editing your taskbar.
Blur - Parallax
Parallax effect will make your wallpaper move if you move your mouse cursor. Cool huh?
You can toggle it using the command below:
/par
You can set its zoom factor (percentage) using the syntax below:
/par percentage
ex: /par 10
Default value for percentage is 5. You can set it to lower or higher value. Even to a negative value! You can try different values out and find what suits you the best.
You can set your current background blur using syntax below:
/bl main terminal editingTaskbar
These values are pixels. Basically 100 considered very very blurry, And you probably won't notice 1 pixel of blur.
You don't need to type "px" of "pixel" in front of these values. You only gonna need to type the value in number.
ex: /bl 5 10 20
These three values are exactly like brightness values and will be set to main, terminal and when you are editing your taskbar.
- Unsplash Collections
You can set your desired Unsplash collections for nitab using:
/un collectionId
collectionId can is ID of the Unsplash collection of your choice.
ex: You liked a unsplash collection and its url is something like url shown below:
https://unsplash.com/collections/932210/snow
The set of characters that are after the "collections/". so the collection id is "932210". Now you can use: /un 932210 to set your Unsplash collection.
If you got multiple collection IDs like above, You can add them using following syntax:
/un collectionId,anotherCollectionId,yetAnotherId
And so on.
- Themes
You can add multiple themes in Nitab. each theme has its own clock configuration, foreground color, current background, font and whether your background is random or not.
You can view, add, delete or switch between themes in side menu. just run: /themes
It'll open a menu in your side menu called themes. You can add a blank theme so you customize it using your Terminal later, Or you can switch between your themes, Or delete each of them using Trash button.
You can do all things above using Terminal.
You can add a new blank theme using: /themes add
If you want to set you current theme, you should use following syntax:
/themes index
Theme's index is just like background index, Heres some examples again:
- ex: if you run /themes 0 it'll set your current theme to your first theme
- ex: if you run /themes 1 it'll set your current theme to your second theme
- ex: if you run /themes 5 it'll set your current theme to your 6th theme
You can delete themes using syntax above and adding "delete" keyword to the end of it:
/themes index delete
ex: if you run /themes 0 delete it'll delete your current theme.
And the rest is just like setting your theme.
If you constantly change your Operating System's theme, Then you'll need your browser to follow it too! You can set "dark" and "light" themes in Nitab, so it'll change based on your system's preferred theme! You can do such using syntax below:
- Will set your theme of choice for when your system theme is set to dark:
/themes index dark
- Will set your theme of choice for when your system theme is set to light:
/themes index light
You can delete your dark or light theme and change your current theme manually using following syntax:
- /theme delete dark
/theme delete light
- Clock Configuration
- Current Background Index
- Foreground
- Font
- Unsplash Collections
- Whether is Background random or not
- ex: if you run /themes 0 it'll set your current theme to your first theme
- Clock Configuration
- Customizing your Taskbar
You can add icons to your taskbar. Its like a quick access bar but its highly customizable.
You can open taskbar menu using following command: /taskbar
You can add icons by drag and dropping or by clicking "Add" button.
You can click on icons to customize them, Or double click to delete them. While you editing, You can switch to "Add" menu by pressing Plus button.
Other options are pretty self-explanatory.
- Adding To-dos
You can add to-dos using following syntax: /todo message
The message can be whatever you want Nitab to remind you of.
ex: /todo checkout chapeltown rag on youtube
ex: /todo don't forget to buy milk
You can view, add, delete, or mark your to-dos as finished in side menu. You can open to-dos in side menu using following command: /todo
Or by clicking on to-do reminder, in the Main, below the clock.